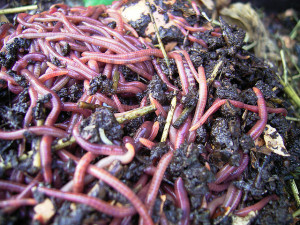
Hello fellow readers, I considered delaying part two of our talk about Worm Composting in the spirit of a more appetizing topic for Thanksgiving, but a promise is a promise. And dinner preparations will make plenty of grub for your worms. (For those that missed last week, here’s the link to Worm Composting Part 1.)
Once your worms eat your scraps, which takes about 60 days, it’s important to separate them from the finished compost; otherwise, they will die. The process is called harvesting. The quickest way is to move the finished compost to one side of the bin, then place new bedding and food waste on the new side only. The worms will gradually move over to the new side, and the finished compost can be removed. Or harvest all the compost by dumping the contents and separating the worms and tiny worm cocoons manually. Then mix a little of the finished compost with new bedding and scraps, then return your worms. Queasy yet?
Worms have been known to crawl out if conditions aren’t right if the bedding is too wet or acidic. To prevent escaping, improve drainage by increasing holes in the bin or add a little garden lime. By the way, the key to avoiding fly and smell problems is to pull aside the bedding, then bury the new food waste and cover it up with bedding.
While visiting Mom in Virginia, Worm Composting became a fun topic. A former science teacher in the nursing home powwow piped in, ‘you can buy Red wigglers at places that sell worms for fishing.’ Imagine how happy the worms will be to escape the fate of being bate!
Mom still recognized me, not by name, but she was excited to see me every day as if she didn’t see me the day before. A lesson on living in The Now! As for many of us with changing families, Thanksgiving is not as it used to be, which is hard. But the ‘Thanks’ of ‘giving,’ the love and memories remain in our hearts forever.
Blessings for a warm and fuzzy, or should I say worm and fuzzy, Happy Thanksgiving to all!
Garden dilemmas? AskMaryStone@gmail.com


